YOUR NO 1 WOODWORKING POWER TOOLS RESOURCE WEBSITE
Jointer Power Tool For Woodworking | Overview | Buying Guide
Disclosure: If you click on some of the links, we may earn a small referral fee. Please know that we only recommend products that we use and believe will add value to our readers.
Jointer Power Tool
This simple yet versatile tool allows you to create flat, smooth surfaces on your wood projects, which is essential for achieving a professional finish.
Generations ago, our predecessors spent a lot of time with hand planes trying to crook, bow, cup, and take the twist out of their lumber.
You can’t really fault them. Using hand planes was the only real option they had, and of course, these hand planes were well suited to make smooth, square, straight and flat boards then.
Fast-forward to the present age, the jointer power tool has been developed to not only perform these tasks efficiently but to perform them in a fraction of the time, with minimal effort and skill. In short, for some woodworkers, it is their go-to tool for processing rough lumber.
In this article, I have covered everything you need to know about the jointer power tool. If you stay with me till the end, all the questions you might have as regards this tool will be answered.
How Does The Jointer Power Tool Work?
To say the least, the primary function of a jointer is to smooth, flatten and square rough surfaces and edges of stock. This can be seen when preparing rough stock. Usually, a reference face is jointed first, then an adjacent edge is flattened.
Power jointers works as though you have flipped a hand plane upside down with its knob to the right. It consists of a flat long surface bisected by a cutting head with a cast-iron guide fence.
The cutting head’s blades remove a layer of the wood’s surface as the wood passes through the jointer tool, producing a smooth and flat side that is precisely square with its other sides, making the lumber ideal for finishing woodworking projects.
It is worth mentioning that even though jointers perform the tasks of flattening and squaring much faster, hand planes may still come in handy if you happen to have boards that are wider than your jointer.
Related Article: Shapers Woodworking Power Tool | Tips & Tricks | Should You Even Buy It?
Jointers vs Planers
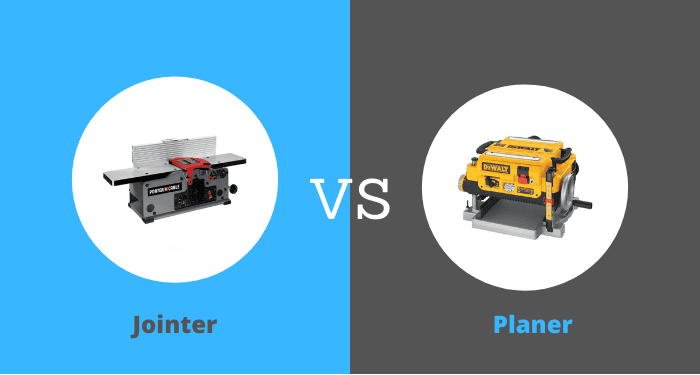
The jointer and the planer are two power tools that perform similar function. They sometimes can be used interchangeably, but each has a function that it performs very well.
For example, the jointer can to some degree carry out thicknessing, but this is not what it was designed for. Thicknessing is the planer’s job.
Also, if you want to keep two edges or faces parallel to one another, a planer is what you should use not a jointer.
To summarize the difference between a jointer and planer.
They both can remove wood from the sides of wood stock, but a jointer is designed to take uneven or bowed lumber and make it straight and square. On the other hand, the planer removes larger quantities of wood, taking a compact board and planing it down to the required thickness. One side of the board must already be flat to use a planer.
Generally speaking, you can accomplish more with a planer than you would with a jointer. But what a jointer does well is very vital to woodworking.
Related Article: Take a look at my list of must-have power tools for woodworking.
How To Properly Setup The Jointer
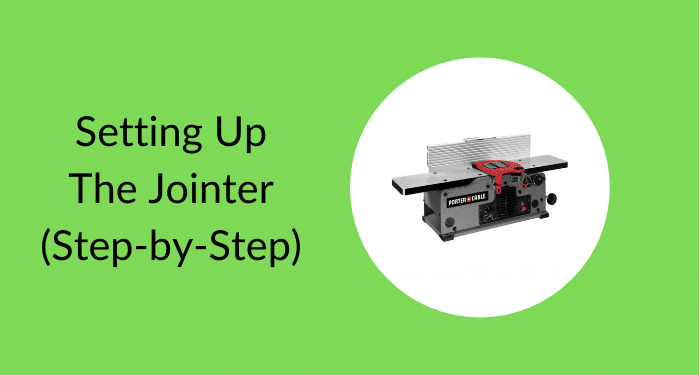
In addition to cranking down the feed table to establish your preferred cutting dept, there are few modifications you need to make to prepare this machine for use.
Setting The Outfeed Table:
It’s important to make sure that the jointer’s outfeed table is flush with the cutterhead’s top dead center (TDC). To confirm this, hold a straightedge against the outfeed table so that it extends over the cutterhead. While the device is still unplugged, rotate the cutterhead, make sure that the knives should just kiss the straightedge without lifting it. The outfeed table should then be adjusted up or down until it meets your preference. Once you have set the TDC, there is no need to check it again, except you drop something on it or bump the outfeed table.
Preparing The Machine For Edge Jointing And Squaring:
Adjust the fence so that it is at right-angle to the table. You can do this by holding an engineering square tool against the table and fence. Adjust the fence so that there is no gap between the blade of the square and the face of the fence, and then tighten the table setting.
Keep in mind that the fence needs to be adjusted laterally so that enough of the cutterhead can be exposed to join the stock width at hand. Each time you move the fence in or out, be sure to check again for fence squareness.
Setting The Depth of Cut:
This is a topic of personal preference. The deeper you set the infeed table, the more the machine will remove stock. A 1/16″ cutting depth on rough-sawn lumber will easily skim off the oxidized, rough outer layer of the wood. With fewer passes, it can fix wood defects such as bowing or cupping. But on interlocked or figured grain, deep cuts may also lead to more tear-out.
Feel free to test different cutting depths so that you can find the best fit for the stock you are joining.
Note: Whichever cutting depth you decide to use, please never exceed a 1/8″ cutting depth for basic flattening and squaring operations, as it increases the chances of torn-out grain and possibly kickbacks.
How To Be Safe While Handling The Jointer

Safety, safety, safety…
The jointer just like any other power tool can be your best friend if handled properly. It can also be your greatest enemy if mishandled. Using a jointer is a bit like learning how to play a guitar, it takes some practice.
Here are some basic tips to enable you keep safe while handling the jointer:
- The first and most important is to read the instruction manual carefully before using it. In short, most of the safety precautions I have outlined here will be in the instruction manual.
- Whether you’re jointing edges or faces, always stand beside the machine on the infeed side and feed the stock into the cutterhead with it firmly held against both the infeed table and the fence. Your left-hand should guide the workpiece from above, while your right-hand feed it forward from behind.
- Once the stock starts to pass through the cutterhead, move your left hand to the outfeed table to continue guiding it along. This might mean taking a few steps forward, alongside the machine. which is why you should always orient yourself so that you can move with the wood if needed. This particularly necessary when joining long lumber.
- Whatever you do with a jointer, do not use it to machine end grains. The cutterhead could seize and propel the wood backwards, not to mention that severe tear-out on the back corner of the wood will be almost unavoidable.
Related Article: Safety Power Tool Switch | 3 Reasons Why You Need It
Factors To Consider Before Buying a Jointer (Buying Guide)
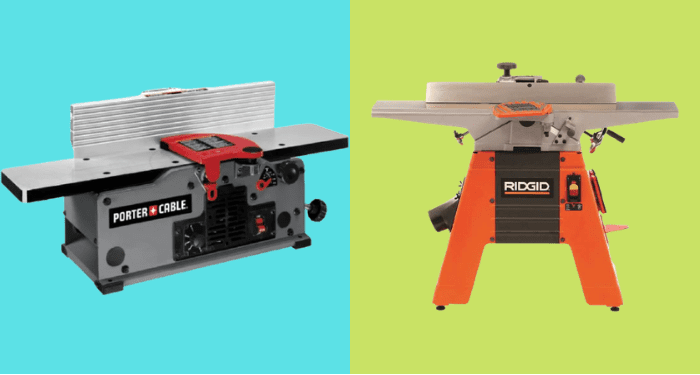
So you have decided to get a jointer, but you are confused about which one to buy or you have some questions. Here are a few things to look out for when buying a jointer.
1. Should I buy a dedicated jointer or a jointer/planer combo?
The truth is that you need both a jointer and planer in your workshop to get the most out of rough lumber. The jointer is used to flatten one face and square-up one edge, while the planer makes the second face flat and parallel to the first.
But given that you may have a small workshop space, the jointer/planer combination may be suitable for you. In that case, I recommend JET 13 Amp 900rpm Jointer/Planer combo as this is the best bang for the buck.
Bear in mind that, while the combo may be cheaper and take less space, it is not as specialized as having a separate jointer and planer.
Speaking of combo, here are 14 top power tool combo kits for budget-savvy woodworkers.
2. Which cutterhead style should I get?
This is the most important decision you will have to make. Basically, there are 3 types of jointer cutterhead styles you could see: straight blades, helical and spiral cutting heads.
From my experience, straight blades are quite frustrating to use and they always leave bad tear out. I prefer either the spiral or helical cutterheads as they produce less tear out even on figured wood. On my jointer, which has a helical cutterhead, I can mill figured wood, like burl wood, with hardly any tear out at all.
3. Helical or spiral cutterheads, what’s the difference?
The helical cutterheads have their carbide blades set at a skewed angle to perform more of shearing cuts, while for the spiral cutterheads each carbide blade is aligned straight. At the end of the day, whether you use a spiral or helical cutterhead, it doesn’t show any difference on the surface quality of the wood.
4. What about power?
The power of the jointer will determine how easily the jointer can cut through wood. More powerful jointer models, of course, will give a smoother finish on wood than less powerful ones. High-power models also perform better when cutting through hardwood.
1 – 2 horsepower engine sized jointers are recommended for woodworkers like you and I as it is sufficient to handle most softwoods, hardwoods and exotic woods.
5. What width of power jointer should I buy?
Jointers come in different shapes and sizes. From large, vintage, 24-inch jointers to the small budget, 4-inch jointers you might see in a DIYers workshop. Simply put, the width you need will depend on the size of boards you frequently join. Generally, for woodworkers, a 6 to 8 inches jointer is what I recommend.
6. What about cutting depth?
The cutting depth will determine how many times you will need to run the wood through the jointer to make it flat and smooth. Most benchtop jointers have a maximum cutting depth of 1/8 of an inch. This is the recommended depth for most woodworking projects.
Related Article: Where is the Best Place to Buy Power Tools | 14 Top Power Tool Stores
Which Jointer Do I recommend for Woodworking?
There are dozens of jointers out there from different brands, but my goal is to make sure you choose the right one for the projects you build.
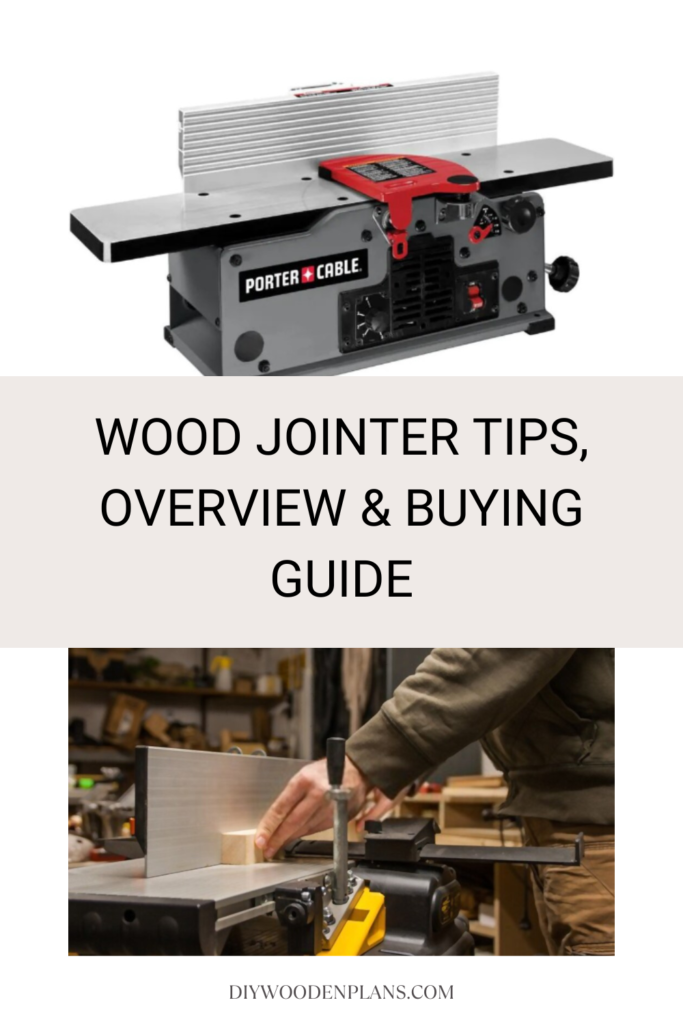
I will rate the Porter-Cable’s benchtop jointer as the best overall jointer for woodworking. It is, without doubt, one of the top models in the market. It comes loaded with a lot of functionalities that ticks all the boxes for a typical woodworking jointer.
It features variable speed options and dual cutting head. With a cutterhead speed of between 12,000 and 22,000 cuts per minute, the powerful 1-horsepower motor allows for speed changes between 6,000 and 11,000 RPM, enabling you to customize the saw for the size and the wood species.
Its ample table size means you no longer have to bother about it handling longer wood stock. It comes with a cast-iron fence that offers plenty of support while ensuring that perfect 90-degree edges are created by the cutting head. Two knives are featured in the cutting head, which can be easily modified through a jackscrew lock. A large exhaust port hooks into a device for dust collection, keeping the work area free of debris.
Get the porter cable benchtop jointer available at:
Final Thoughts
I hope this article helped you learn how to use a jointer and what to look out for when buying one. You may also want to see our article on the best power tool brands for woodworking.
Pinterest Image
Enjoy our articles? You can follow us on Pinterest for more woodworking power tools tips and tricks.
Save on selected power tools from top brands - Shop Now on Zoro.


